How To Secure Your Website With Cloudflare

Cloudflare gives you fortune 500 protection quality for free. Cloudflare can mitigate intense DDoS attacks, hide your server's IP, easily setup HTTPS without installing anything, and rate limit requests. On top of protection, you can speed up your website using their free CDN and response compression.
How it works
Cloudflare acts as a middleman. When visiting your domain, users are not connecting directly to your server. Rather, they connect to Cloudflare servers, in which Cloudflare's server connects to your website's actual server. This way, clients will never know your IP so long as you aren't leaking it somewhere. Cloudflare passes along the requester's information and more to your server, so you aren't missing out.
Before Cloudflare forwards requests to your server, Cloudflare first checks if the requesting client is safe. Cloudflare has its own firewall. Each IP has a reputation, which they compare from their database. If Cloudflare determines that an IP's threat score is too high, the request will not reach your server, thus preserving resources. Cloudflare has processed billions of network requests and factors in history from other sources. This makes their database of IP reputations very inclusive.
Using Cloudflare as a proxy
Instead of using your domain's DNS, you will need to edit your domain's custom nameservers to use Cloudflare's nameservers.
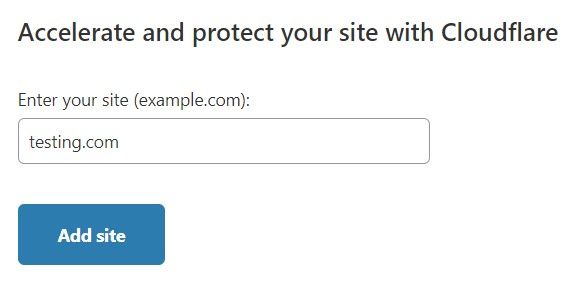
Step 1: While logged into Cloudflare, click on the button that says, "Add site" and enter your website's domain. Click the "Add site" submit button under the domain input.
Step 2: You will be prompted with a plan selection. Pick the plan you feel is most suitable for your needs. Free is suitable for most situations. Click continue once you've selected a plan.
Step 3: It will start automatic DNS record scanning. If you've never used the domain before, it is very often cluttered with unused records set by the domain provider. I delete them in that scenario. If you know you need the scanned DNS records, feel free to keep them. I delete them either way since I like to configure them myself just to be safe. I will assume you've deleted them. Click the continue button when available.
Step 4: Cloudflare will display the nameservers your domain needs to use. Keep this page open.
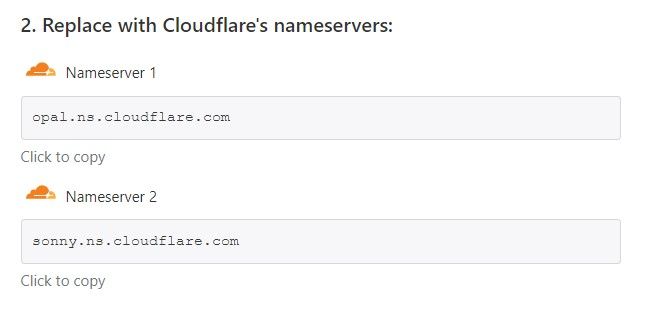
Step 5: Log in to your domain registrar and edit your domain's settings. Look for the option to edit the DNS settings and look specifically for name servers. Change it so you can use custom nameservers and fill in the inputs appropriately.

Step 6: Once you've updated the domain's custom nameservers, go back to the Cloudflare page and click on, 'Done, check nameservers".
Step 7: You will then be prompted with basic security options to configure.
Step 7a: For the SSL encryption mode, choose flexible if you have not set up an SSL/HTTPS on your server. Flexible encrypts traffic between the browser and Cloudflare, basically offering HTTPS functionality even though your server has no configured SSL. Cloudflare will still make requests to your server via plain HTTP. If your server has a configured SSL for your domain, choose the full option when using a self-signed-certificate or full(strict) for a trusted CA certificate like provided by Lets Encrypt. By using Full, requests are encrypted from both client to Cloudflare and Cloudflare to your server.
Step 7b: Turn on "Always Use HTTPS".
Step 7c: Tick all the checkboxes under "Auto Minify". This may break websites that are designed differently, like single-page applications(SPAs).
Step 7d: Leave Brotli compression on.
Step 8: Click "Done".
Cloudflare should now be acting as a proxy/middleman for your server.
If you are prompted with, "Complete your nameserver setup", then your domain registrar has not processed the change yet. This could take 24 hours, but it very often under an hour or two. Cloudflare will periodically check if the nameservers are correct and will email you once ready. Come back when this message is gone.
Hiding your server's IP from scrapers
You don't want your server's IP to be exposed. If people have direct access to your server, then the protection of Cloudflare is useless. People typically get a website's server IP by checking what IP a domain points to. With using Cloudflare as a proxy, this route will only give Cloudflare's server IP, so you're protected in that manner. Though this doesn't mean your server's IP is completely hidden yet. There are automated services out there that take a reversed approach. They scan every single possible IP address and check if the IP supports a specified domain. If they find an IP that supports the domain, then it can be assumed that the IP of the website's server was found. The public service by Censys.io makes it extremely easy to do so. To prevent this issue, you will need to block all incoming HTTP requests that are not from Cloudflare. Here is an NGINX configuration snippet you can paste into the http block of nginx.conf
#Block all IPs
deny all;
#Only allow Cloudflare IPs as found here
#https://www.cloudflare.com/ips/
#IPv4
allow 173.245.48.0/20;
allow 103.21.244.0/22;
allow 103.22.200.0/22;
allow 103.31.4.0/22;
allow 141.101.64.0/18;
allow 108.162.192.0/18;
allow 190.93.240.0/20;
allow 188.114.96.0/20;
allow 197.234.240.0/22;
allow 198.41.128.0/17;
allow 162.158.0.0/15;
allow 104.16.0.0/12;
allow 172.64.0.0/13;
allow 131.0.72.0/22;
#IPv6
allow 2400:cb00::/32;
allow 2606:4700::/32;
allow 2803:f800::/32;
allow 2405:b500::/32;
allow 2405:8100::/32;
allow 2a06:98c0::/29;
allow 2c0f:f248::/32;
That NGINX configuration will block all incoming HTTP requests from IPs that are not used by Cloudflare. This makes it impossible for scrapers to scrape data. This is a critical step that is missed by many.
If your server's IP was once public, then you will need to change your server's IP after you've implemented Cloudflare as a proxy and after considering this step. Otherwise, your server's IP is probably already publicly archived from a previous scraping.
Rate limiting
(A paid feature, but can be very much worth it for resource expensive requests)
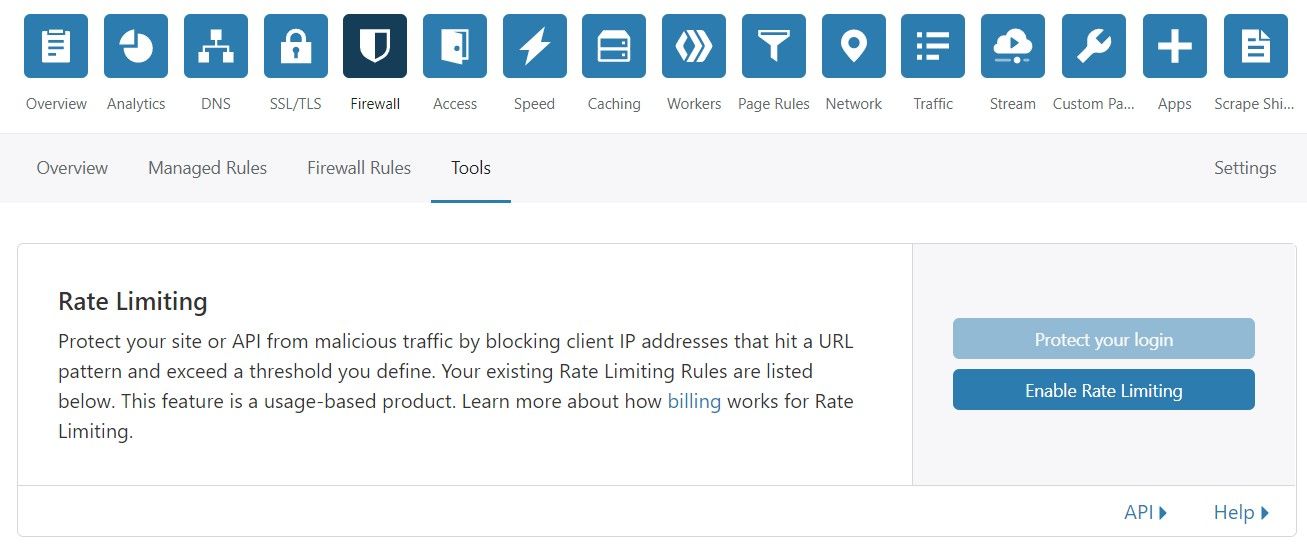
Relying on Cloudflare's IP reputation/threat detection is not bulletproof. It only stops some attacks. If you're being affected by an HTTP flood attack and Cloudflare isn't stopping it, then you may need to consider rate-limiting. You may be able to rate-limit from your server, but if you have a cheap server, then even the requests alone may be overwhelming your server. Rate-limiting from Cloudflare itself will take away that load. You can enable Cloudflare's rate-limiting by navigating to Firewall -> Tools -> Rate Limiting.
A rate-limit is a limit on the rate of requests. Exceeding requests will be ignored and not forwarded to your server. 50 requests per second from a single IP is extremely high for most websites. This can suggest that the IP is attacking. If you set a limit to something more reasonable like 20 requests per second, then the attacking IP will be ignored.
Cloudflare as a CDN
Cloudflare will automatically cache the common static file types. (E.g .html, .css, .js, .png, jpg, etc. Cloudflare has servers all over the world with your cached data. When a client requests a static asset, Cloudflare will respond cached data from the closest server, which in turn improves the page's load speed and decreases your server's bandwidth usage. This means that your server will have less attackable positions because only Cloudflare will be handling requests.
Under Attack Mode
When you know your website is under attack, you can quickly turn on a toggle offered by Cloudflare named "Under Attack Mode". This will turn on a Javascript-based challenge for browsers making a connection to the website. Browsers which fail the challenge will need to complete a captcha.
Note that this feature can break some aspects of your website. For example, APIs will no longer work. To correct this issue, you will need to disable Under Attack Mode for your API's route under the Page Rules section.
When turning off Under Attack Mode, set your protection to high. Medium at the least.
Summary
You can protect your website and it's clients completely for free by using Cloudflare. Utilize Cloudflare as a proxy to hide your IP, for their free SSL, as a CDN, and for their rate-limiting.